Choose the right tool for each threat. Compare actual tower models, upgrade costs and the jobs each defense does best.
Build a defense that works together
Soulpiercer, Hellfire and Gravefrost are available from the start. Dreadlance and Stormspire unlock in the preparation phase before wave 5. Venomwell and Aegis Sanctum join before wave 9. You can build, upgrade, sell, move and repair during battle as well as between waves.
A tower’s position matters as much as its level. Look for bends and parallel sections where one range circle covers the route more than once. Reserve overlapping frost, fire and soul coverage for the final wave.
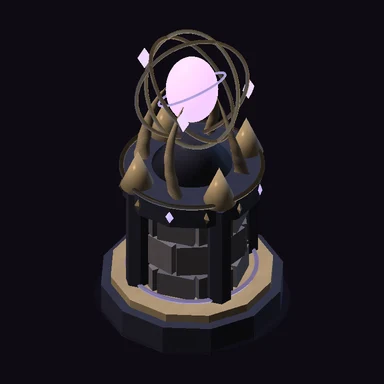
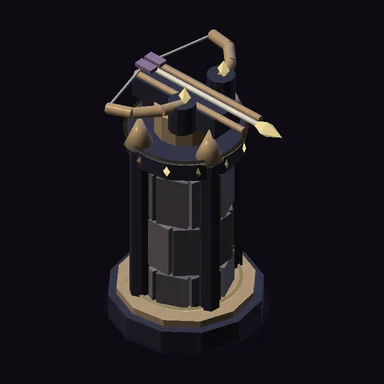
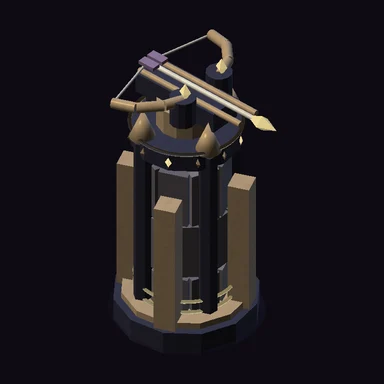
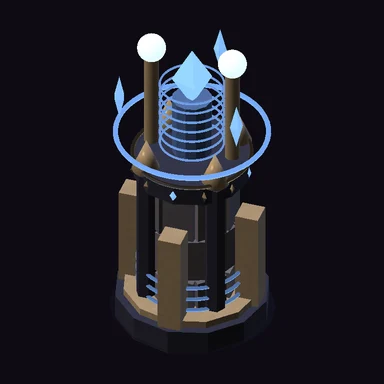
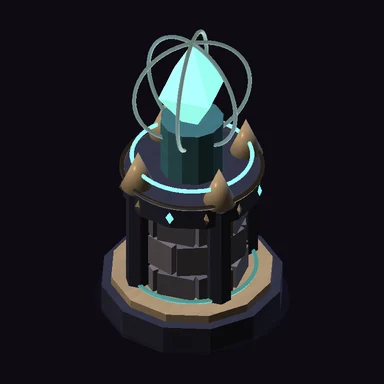
Soulpiercer
Rapid soul energy. Essential for exposing Malachar after frost and fire. Strong against wraiths.
A reliable opening defense. Its short attack interval helps clear weaker enemies, and soul damage is especially effective against wraiths. Place it where its range overlaps Hellfire and Gravefrost so the final boss can receive the three required elements in sequence.
Upgrade decisions
Upgrade a Soulpiercer with strong path coverage before buying a second one in a poor position. It needs a living, firing line of elemental partners to expose the final enemy.
The wardens set fragments of funeral bells inside these towers. Each shot carries a name that the darkness has tried to erase.
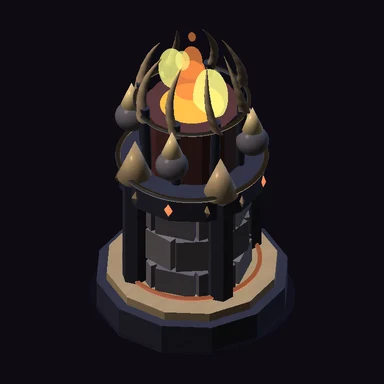
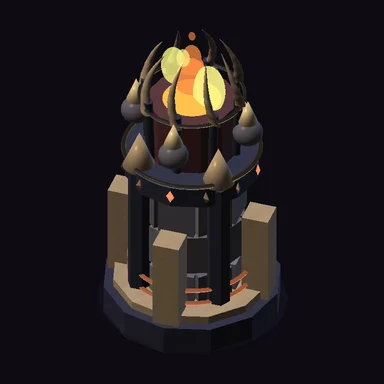
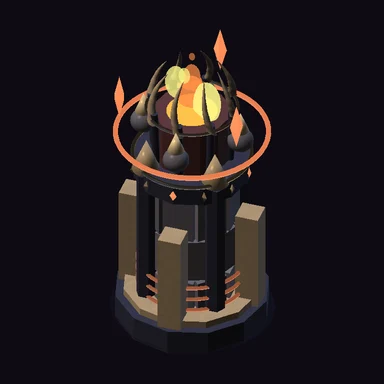
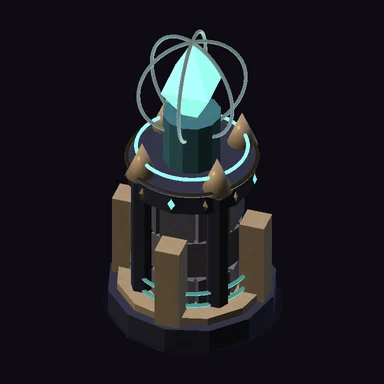
Hellfire
Explosive fire damages every enemy within 85 units of impact. Fractures Malachar’s chilled armor.
Hellfire rewards tight corners and stretches where enemies gather. Its blast hits enemies within 85 battlefield units of the target: roughly 1.33 tiles. Gravefrost helps keep enemies inside the killing area for longer.
Upgrade decisions
An upgrade improves both the explosion damage and firing interval. Against Malachar, fire must arrive after frost has chilled his armor; fire alone cannot open it.
The first braziers were lit with coals recovered from the burned city. Their keepers are forbidden to let the last ember die.
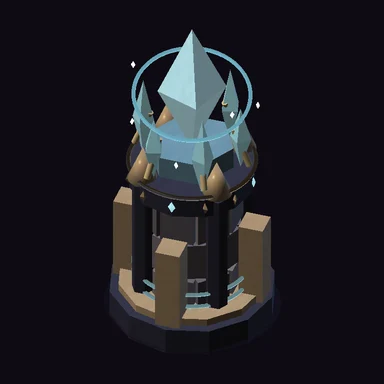
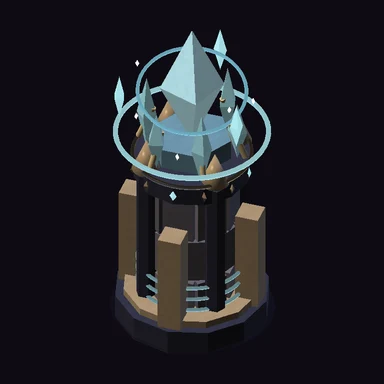
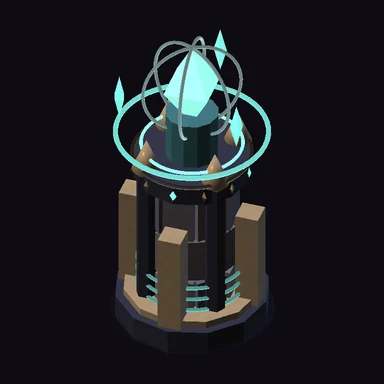
Gravefrost
Slows regular enemies by 50% for 2.2 seconds. Chills Malachar’s armor; he resists most slowing.
Gravefrost deals little direct damage, but slows regular enemies by 50% for 2.2 seconds. Place it near the beginning of a stretch covered by your damage towers. Repeated frost hits refresh the slow.
Upgrade decisions
Upgrades improve reach and firing frequency as well as damage. More expensive frost is useful when it gives several other towers more time to attack, rather than simply adding another small hit.
These reliquaries preserve the cold of the winter when the bells fell silent. Even the dead remember that cold.
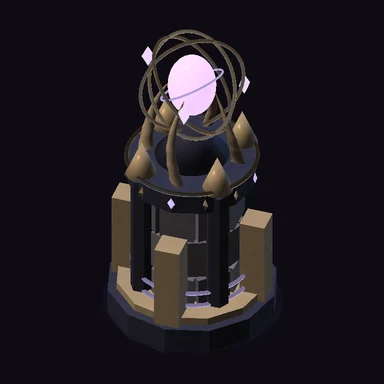
Dreadlance
Long-range physical bolts ignore juggernaut armor. Weak against wraiths. Only hurts Malachar while exposed.
This is your long-range answer to heavily armored enemies. It ignores the juggernaut’s damage reduction, and its reach lets it cover separate parts of the winding path. Wraiths resist its physical strikes.
Upgrade decisions
Give it a position with several useful sightlines across the route. Its long interval makes it less suited to handling a stream of small enemies on its own.
Each bolt is balanced by hand and marked with the name of the wall it is sworn to defend.
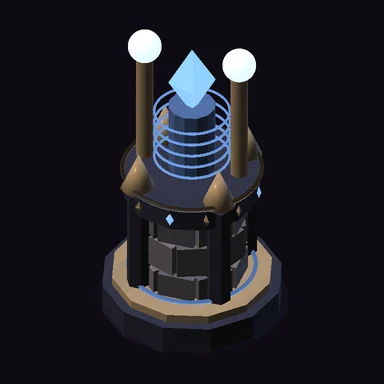
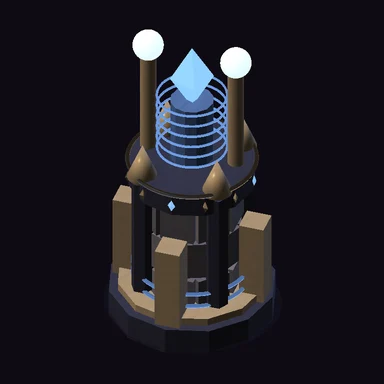
Stormspire
Chains lightning across up to three enemies, with 25% less damage per jump. Jumps reach 145 units.
A lightning strike can jump to two additional enemies. Each jump reaches up to 145 units from the previous target and retains 75% of that target’s strike damage. It is strongest when enemies travel close together.
Upgrade decisions
A lone target gives the chain nowhere to go. Pair Stormspire with Gravefrost near busy bends, and keep a focused damage tower available for survivors.
The sanctuary’s copper roofs were melted into its conductors. In a storm, the tower hums before the sky does.
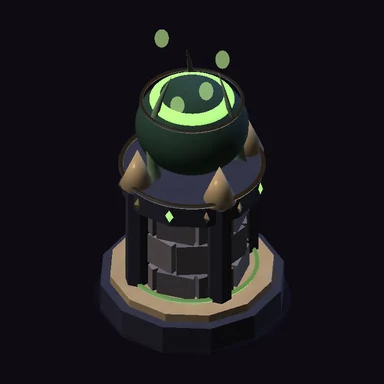
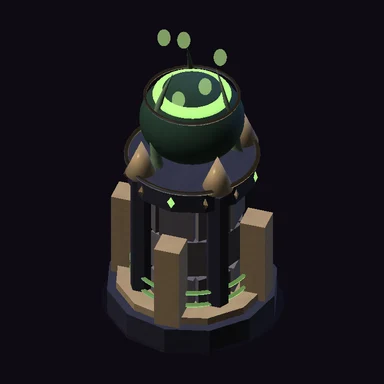
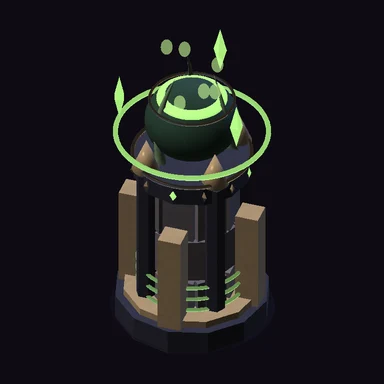
Venomwell
A venom projectile applies four seconds of poison. Base poison deals 14 damage per second and scales with upgrades.
A hit applies poison for four seconds. Poison damage starts at 14 per second and increases with tower level. Further hits refresh the effect rather than adding independent poison stacks.
Upgrade decisions
Place it early enough along the remaining route for the poison to work. Its lingering damage is useful against durable enemies, but it cannot bypass the final boss’s closed armor.
The wardens cultivate pale roots in sealed wells. Nothing grows in the soil after a well is broken.
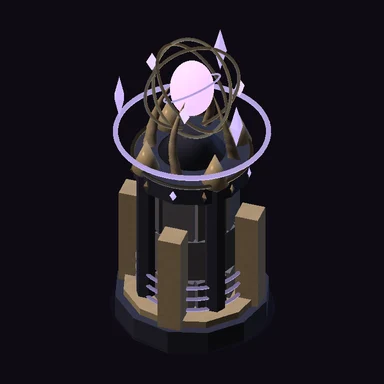
Aegis Sanctum
A shared shield protects living towers, including itself, inside the dome. Regenerates during combat. The strongest covering dome absorbs each hit; shields do not double-block. A ruined Sanctum stops protecting. Repairs do not refill its shield.
Aegis protects nearby towers and itself with one shared shield pool. That pool regenerates during battle while the Aegis remains standing. Several protected towers taking damage can drain the same shield rapidly.
Upgrade decisions
An upgrade increases capacity, regeneration and coverage. Overlapping shields do not absorb the same hit twice: the covering shield with the most remaining charge is used. Repair restores structure, not a full shield.
Its dome repeats the geometry of the old sanctuary wards. When struck, it answers with the faint sound of a bell under water.
Keep the line standing
A level 1 tower has 120 structure. Each upgrade adds 60 structure; a tower at zero structure remains on its tile but cannot attack. Repair it to bring it back into the fight.
Moving costs 15% of the original build price and preserves the tower’s level and firing cooldown. Repair costs depend on damage, up to 20% of the build price, with a minimum of 5 gold. A repaired tower must wait six combat seconds before it can be repaired again.
Double-click a tower type to select every built tower of that type. A group upgrade advances every eligible tower by one level. Group repairs skip towers at full health or still cooling down. The whole quoted cost must be affordable; the game does not spend your remaining gold on a partial group action.
Every build, upgrade, move, sale and repair affects your score. A dense defense can survive, but a well-placed, maintained defense can finish with fewer interventions. The full scoring breakdown remains beneath the leaderboard.