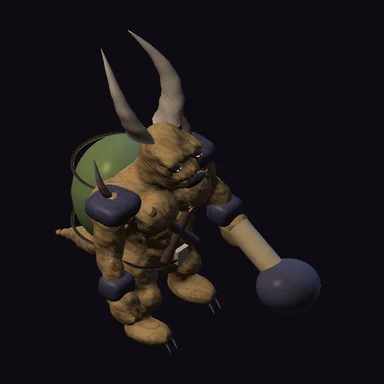
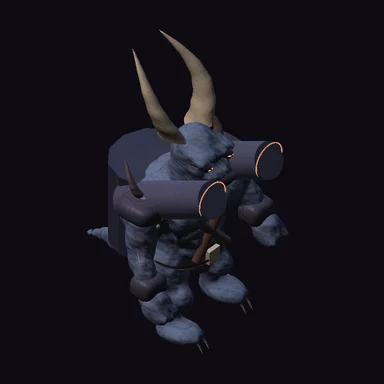
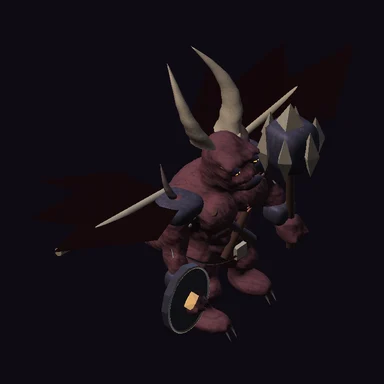
Recognize the enemy before it reaches your weakest position. The portraits show the actual game models; the final arrival remains a surprise.
The infernal bestiary
Every enemy that reaches the sanctuary costs lives: regular enemies cost 1 life each, including juggernauts, wraiths, sappers and Siegebreakers. Archdemons cost 5 lives. Malachar costs 20 lives and ends the run.
Wave 1
Ash imp
Overwhelming numbers
The basic infantry. Walks toward the sanctuary and costs one life if it escapes.
How to respond
Imps are the first test of your coverage. Individually they are manageable, but a group can occupy your towers while faster enemies pass through. Build a dependable opening lane before saving for late-game defenses.
Their blades are scavenged from ruined watch posts. An imp will carry a weapon far too large for it rather than enter the passage empty-handed.
Wave 3
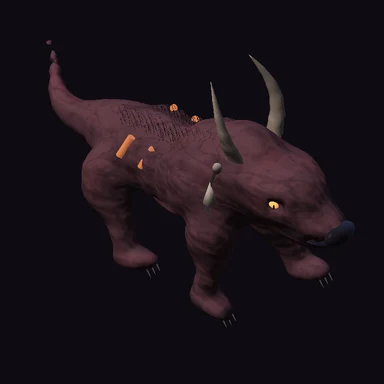
Hellhound
Speed and pressure
A fast hunter. Gravefrost keeps it in range longer. Costs one life on escape.
How to respond
Hellhounds begin appearing in wave 3. Their speed leaves less time to deal damage, so slowing them inside an overlapping attack zone is more reliable than hoping a last-second shot lands at the sanctuary.
They lower their heads when the sanctuary bell rings. Whatever they were before the gate opened, they still recognize a summons.
Wave 4
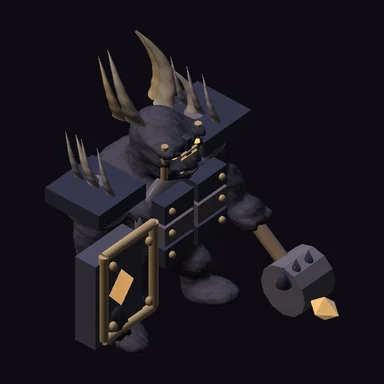
Iron juggernaut
Armor that changes your priorities
Heavy armor reduces soul and frost damage to 55%, fire to 80%. Dreadlance ignores this armor.
How to respond
Dreadlance deals its full damage to a juggernaut. Fire deals 80%; the other tower damage types deal 55%. Early on, use sustained coverage and slowing. Once Dreadlance unlocks, let it handle the heavy survivors.
The iron is fused to the flesh beneath it. Dents in the plates mark battles fought before the passage had a name.
Wave 6
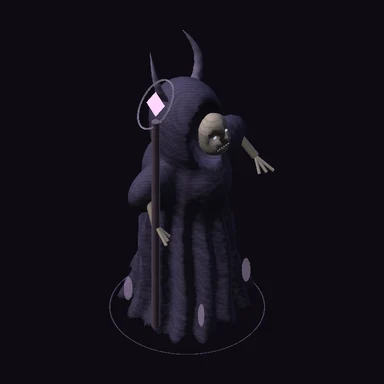
Soul wraith
A poor target for physical bolts
A hovering spirit. Takes 135% soul damage but only 35% lance damage and 50% fire damage.
How to respond
Soul damage hits a wraith for 135% of its normal amount. Frost deals full damage, Dreadlance only 35%, and fire, lightning and venom 50%. Keep Soulpiercer coverage even after buying longer-range weapons.
A wraith remembers the sound of its own name but cannot speak it. The light beneath its hood follows every toll of the bronze bell.
Wave 5
Ash sapper
A direct threat to your towers
Strikes the nearest living tower within 90 units every two seconds. Damage increases with wave number. Shield nearby defenses or repair them.
How to respond
Sappers strike the nearest living tower within 90 units, about 1.41 tiles, every two seconds when a target is available. Their damage rises with the wave number. Watch the frontline’s structure and keep enough gold for emergency repairs.
They do not rush toward the bell. They stop at its defenses and listen for weak stone, then begin their patient work.
Wave 8
Siegebreaker
Bombardment from beyond the front rank
Bombards the nearest living tower within 155 units every three seconds. Slower and tougher than a sapper.
How to respond
Siegebreakers attack the nearest living tower within 155 units, about 2.42 tiles, every three seconds when they have a target. Their greater reach threatens towers that a sapper cannot touch. Aegis coverage and timely repairs help keep essential towers firing.
The weapons on their backs are fed from sealed iron vessels. The wardens have learned not to open the vessels left behind.
Waves 5 & 10
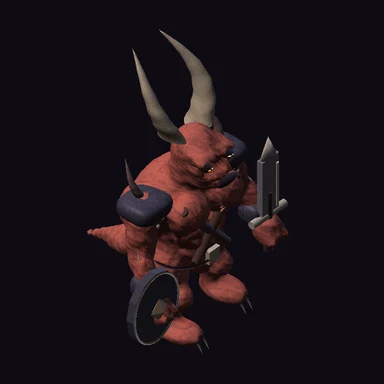
Archdemon
A leader you cannot afford to leak
A large, durable leader. Costs five lives if it reaches the sanctuary.
How to respond
Archdemons lead waves 5 and 10. They are tougher than the regular horde and cost five lives on escape. Prepare before starting those waves, then watch the smaller enemies moving alongside the leader.
Each bears trophies from another fallen threshold. Their arrival means the gate has found a path wide enough for its master.
?UNIDENTIFIED
Wave 15
Unknown
The final test
100,000 health, extremely slow, and immune while armored. Frost → Fire → Soul opens a brief vulnerability. All towers can damage him during that opening. Reaching the sanctuary ends the run.
How to respond
Its appearance is deliberately concealed. Wave 15 demands overlapping frost, fire and soul attacks. Frost chills the armor, fire fractures it and soul magic opens a 2.6-second window in which all tower damage is amplified to 220%. Raw spending cannot replace that sequence.
The last entry in the wardens’ bestiary is blank. Under the empty space, someone has written: do not let it reach the bell.
The fifteen-wave siege
Waves 1–2 begin with imps. Hellhounds join from wave 3, juggernauts from wave 4, sappers from wave 5, wraiths from wave 6 and Siegebreakers from wave 8. Enemy health increases every wave. Archdemons lead waves 5 and 10.
Wave 15: break the Worldbreaker
Malachar arrives with twelve guards. Overlap Gravefrost, Hellfire and Soulpiercer: frost chills the armor, fire fractures it and soul magic exposes him. The opening lasts 2.6 seconds and increases damage to 220%. His armor regenerates between openings. Protect these three towers with an Aegis Sanctum and repair siege damage.
Read the wave, not just the health bar
Enemy health increases as the siege advances. The same tower placement that comfortably stopped the opening waves may need upgrades, better overlap or a repair reserve later. Watch both enemies nearing the sanctuary and enemies damaging your defenses.
A ruined tower still occupies its position. If a key elemental tower goes silent during the final wave, repair it before relying on the boss’s next vulnerability window. An upgraded damage tower cannot replace a missing step in the frost, fire and soul sequence.
The next-threat panel in the game previews the approaching wave. Use the tower guide to plan your response, or read why Malachar is coming.